⭐️ Note: Are you a junior developer? If yes, then check out my company Aclarify! We offer a paid apprenticeship program that helps you learn the essential software engineering elements that bootcamps and universities don’t teach you. You’ll spend 3 months with us working on real paying projects that will prepare you for a full-time position in the software industry.
If you've ever worked with Vue Single File Components (SFCs), you'd probably agree with me that they are awesome. Having HTML, Javascript (or Typescript), and CSS all in one place makes the challenge of building and organizing components so easy.
Take a look at a basic example of one of these SFC components in the following sandbox:
How about that? So clean and organized! If I had a bug opened concerning the HelloWorld.vue component, I'd likely only have to look in one place (the HelloWorld.vue file) instead of at least two if we were to use plain ol' Javascript/Typescript, Vue, and CSS. Suffice to say, I'm a fan 🚀
Scoped Styling with Vue Single File Components
One of my favorite features of SFCs is the ability to scope styles defined in the <style> tags to just the html template within the component. This means if I wanted to uniquely style an <h3> element within a component without impacting other <h3> elements across the DOM, I could do this without worrying about CSS specificity. With the scoped attribute set on the <style> tag in the SFC, I could simply write...
h3 {color: red;}
...and be confident this style will only impact the <h3> elements included in this component and this component only.
The benefits of scoped styles don't just apply to generic html tags, but to any kind of CSS provided. This is particularly useful when writing UI libraries as you can be confident you won't have any clashing style rules. Take a look at scoped style component in the same sandbox as above:
Pretty cool right? I'd argue that Single File Vue Components and scoped styling allow developers to handle the vast majority of UI styling requirements. However, there still remain a few scenarios where these awesome features fall short and are ultimately unable to help us out...
The Problem with Vue's Scoped Styles
The developer interface for working with Vue SFCs is static. This means I'm unable to dynamically generate CSS within the <style> tag portion of a SFC. Like I said, most of the time, this isn't a big deal. It's normally enough to just define all CSS in the <style> tag and dynamically assign classes to template using Javascript/Typescript at runtime (eg. adding a class to an element when a user clicks a button).
However, what if you needed to dynamically define an entire style sheet at runtime? Maybe you need to give users full control over a portion of a screen within your app, or perhaps you need to make a page's style completely configurable per client... This would be impossible using the <style> tag provided to us by Vue SFCs.
So then how might we dynamically style a portion of our app at runtime?
The Solution
Dynamic scoped styles can be achieved by breaking the problem down into 2 parts:
- Dynamism - How do we load dynamic CSS in at runtime?
- Scoping - How do we ensure the CSS we load in only applies to a given component and its descendants?
Dynamic CSS
Often you'll find that the majority of sites and web apps load CSS using stylesheet links at runtime. However, every now and then one might also come across <style> elements on the DOM. Using a front end framework like Vue, with its ability to programmatically generate elements, we can take a a string and inject that as the text content within a <style> tag. This means we can load CSS as a string from a database, user input, or somewhere else at runtime ✅
Scoping Style
What is "scoped style?" Within the context of Vue, scoped style is "CSS [that's applied] to elements of the current component only." Great, so we just need to make sure that whatever CSS we inject into our <style> tag only affects the elements within that component. We can achieve this by leveraging CSS specificity via prefixing whatever rules we write with a unique selector. To guarantee that the selector is truly unique, we can use a Universally Unique Identifier (i.e. a UUID) alphanumeric string as the selector for the root of our component. Like so:
// The UUID corresponds to the wrapper id of our component#509b1685-cc80-47c3-8099-fd2dd9e6b35c h3 {color: red;}
With this, we should be able to confidently add styles onto the page dynamically and not worry that they will impact other elements on the DOM outside of our component ✅
Example Problem Context
For the remainder of this tutorial, we will assume we have the following requirements:
Solution Requirements:
- Using Vue, we must create a component that takes configured markdown and converts said markdown to html.
- The Markdown component should accept a
stringtype prop for dynamic scoped styles and apply those styles just to the final html rendered by the component. - A text area field should pass the dynamic scoped style
stringinto the Markdown component allowing for instantaneous scoped style updates to the markdown html.
The Implementation
Great, so now that we've got our requirements outlined and we understand the general approach to achieving dynamic scoped styles, let's write some code.
Step 1: Setting up the project
Let's get started by quickly bootstrapping a Nuxt project.
npx create-nuxt-app dynamic-scoped-styles
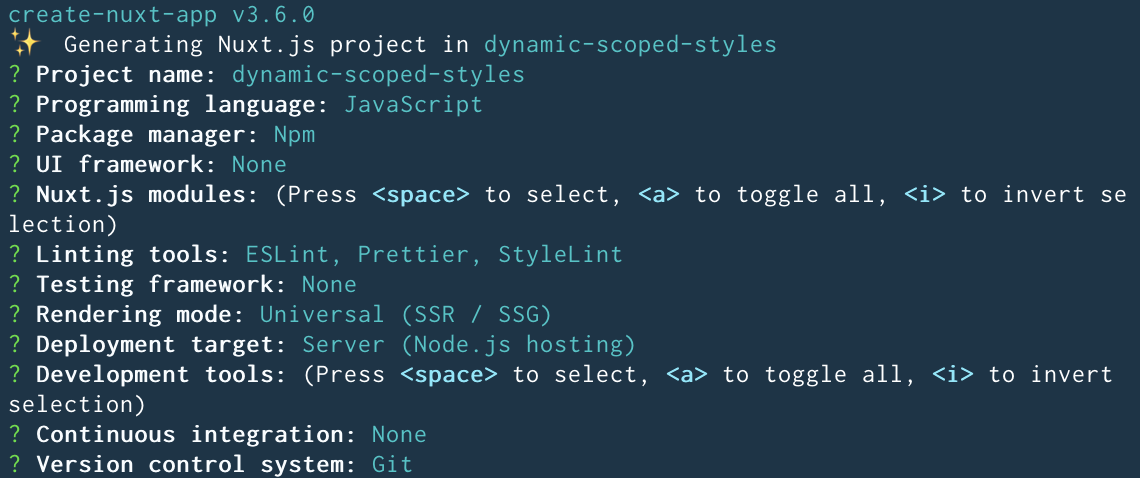
Feel free to configure your project differently than mine. I went with the following options:

Then cd into your new Nuxt project.
cd dynamic-scoped-styles
Now let's test our template project to make sure it works. Run...
npm run dev
Hopefully you see the following once Nuxt finishes compiling:

Step 2: Add a Markdown component
Now that we've got our project set up, let's put together our Markdown component.
First let's create a new file called Markdown.js.
touch components/Markdown.js
Then install our markdown compiler.
npm install marked
Great! Time to write out the beginning of our Markdown component.
Note: Before we do, I want to highlight that we are not using a Single File Component for our Markdown component. Since we need to dynamically generate a <style> element later on, we are going to utilize Vue's createElement() method, provided to us by the Vue instance's render() function property.
Okay, now on to the code! We'll set up our Markdown component with a string type prop called content. This prop will accept string from the parent pages/index.vue page component, which will then convert the string to html using the marked compiler we downloaded a moment ago and inject said html into a <div> element.
Here's the final result:
// components/Markdown.jsimport Vue from 'vue'import marked from 'marked'export default Vue.extend({name: 'Markdown',props: {content: {type: String,required: true,},},computed: {markdownHtml() {return marked(this.content)},},render(createElement) {return createElement('div', {domProps: {innerHTML: this.markdownHtml,},})},})
Step 3: Add our Markdown component to the main pages/index.vue component
Now that we have the beginning of our Markdown component ready to go, let's get it showing up in the browser.
Open up your pages/index.vue, clear out the default template html as well as all styles except for .container, and then add in your new Markdown component.
<!-- pages/index.vue --><template><div class="container"><div><Markdown :content="content" /></div></div></template><script>import Markdown from '~/components/Markdown.js'export default {components: {Markdown,},data() {return {content: `# Header 1\n\n## Header 2`,}},}</script><style>.container {margin: 0 auto;min-height: 100vh;display: flex;justify-content: center;align-items: center;text-align: center;}</style>
You'll notice that for now, I added a data() property called content which is being passed into our <Markdown/> component as its content prop. We'll eventually remove this, but for now let's test everything to make sure it works!
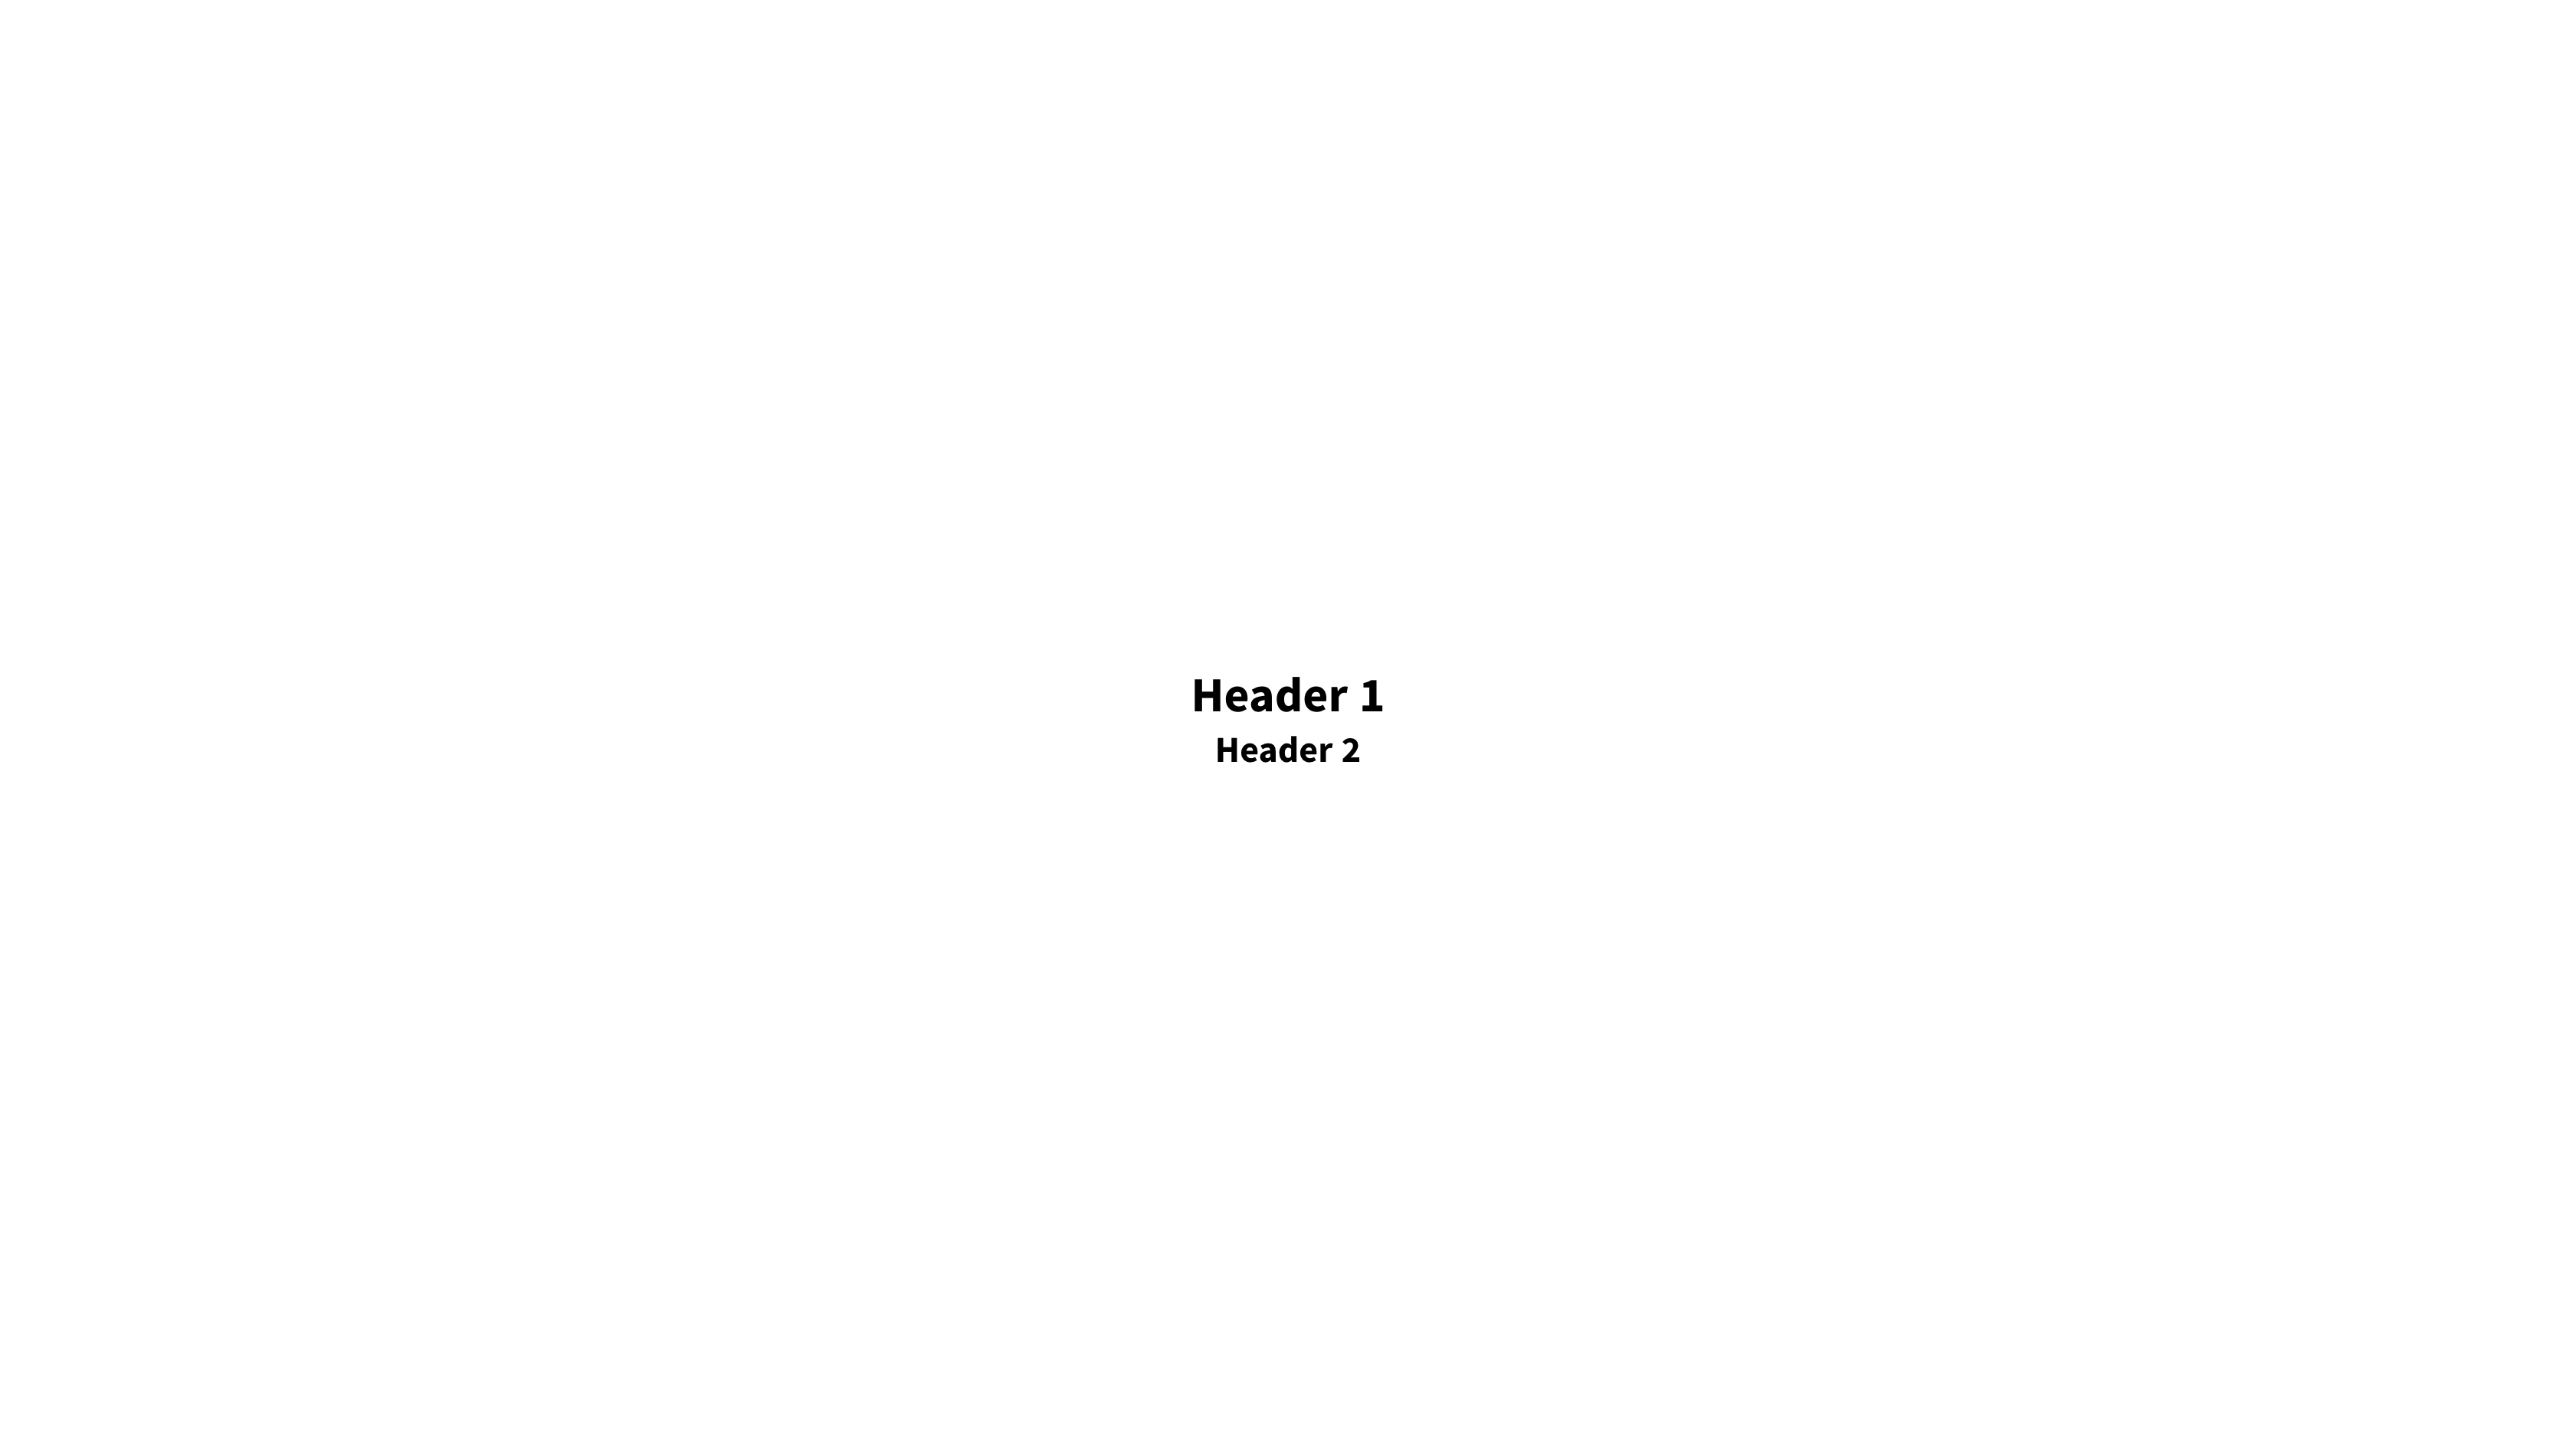
Ensure your server is running and navigate to your browser... you should see the following:

Step 4: Add text areas to the main pages/index.vue component for controlling markdown content and css
Let's start to make things more dynamic. Time to add user-based markdown content.
Update your pages/index.vue to the following:
<!-- pages/index.vue --><template><div class="container"><form class="texteditor"><section><h2>Content Editor</h2><textareaid="markdown-text"v-model="content"name="markdown-content"cols="30"rows="10"></textarea></section><section><h2>Style Editor</h2><textareaid="markdown-text"v-model="style"name="markdown-content"cols="30"rows="10"></textarea></section></form><div class="markdown-section"><h2>Resulting Markdown</h2><Markdown :content="content" :raw-css="css" /></div></div></template><script>import Markdown from '~/components/Markdown.js'export default {components: {Markdown,},data() {return {content: '',css: '',}},}</script><style>.container {margin: 0 auto;min-height: 100vh;display: grid;grid-template-columns: 1fr 1fr;column-gap: 10px;}.container:only-child {padding: 0 10px;}.texteditor {display: grid;grid-template-columns: 1fr 1fr;column-gap: 5px;}.texteditor textarea {height: 100%;width: 100%;border: 2px solid rgba(230, 230, 230, 1);padding: 5px;outline: none;}</style>
Ok, so what's going on here?
⭐️ Created new elements: <form> and <textarea> elements
We added a <form> with two <textarea> elements for capturing user input.
⭐️ Created new data() props: content and css
The <textarea> elements in the <form> are using two v-model (Vue's shorthand for double-binding data) properties: content, which was previously statically set in data(), and css, a new string property that we'll use to pass styles into our Markdown component.
⭐️ Updated Styles
We updated styles and added several new rules to achieve a couple sets of nested columns.
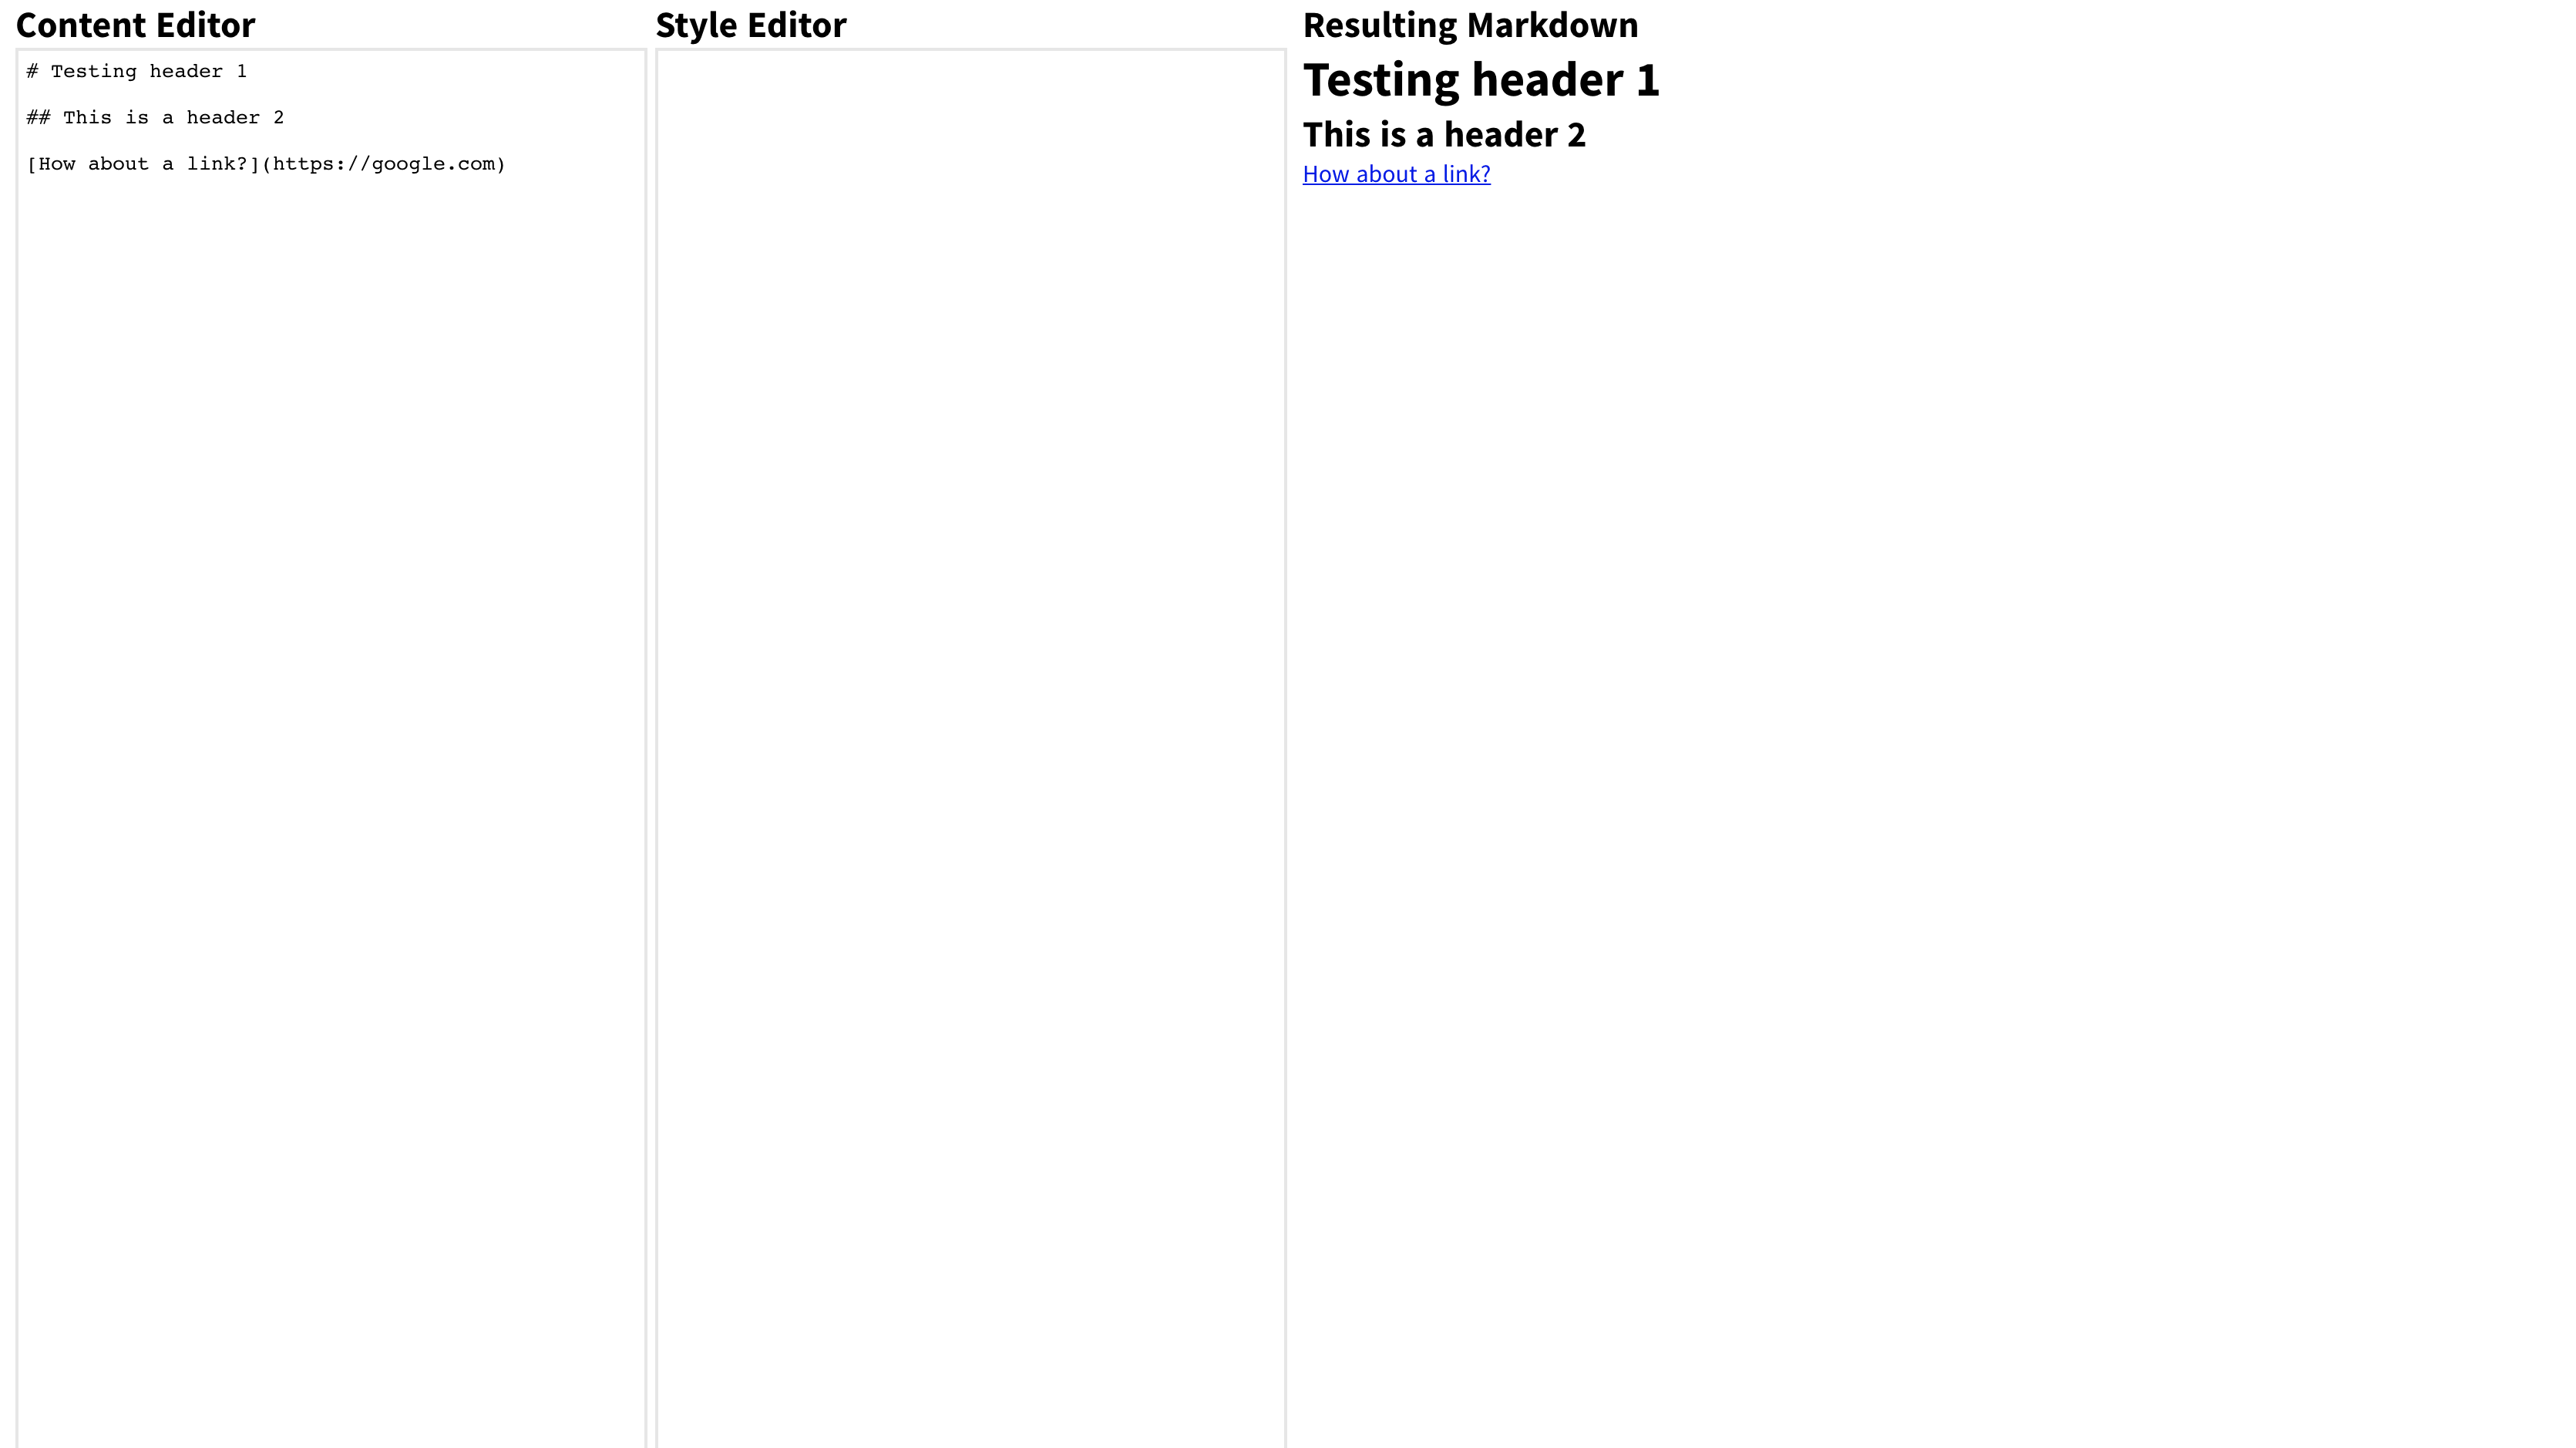
Great, time to test! Open the browser and add some markdown to the "Content Editor". You should see the right-most "Resulting Markdown" section update with compiled html according to your input.

Awesome! Nicely done 🤜🤛 Time to rig up our dynamic scoped CSS!
Step 5: Adding dynamic scoped css to our Markdown Component
First things first, we need to install one more package for generating unique id's. We'll use a common package called uuid.
npm install uuid
Cool, now jump back into components/Markdown.js and update the file so it looks like this:
// components/Markdown.jsimport Vue from 'vue'import marked from 'marked'import { v4 as uuid } from 'uuid'export default Vue.extend({name: 'Markdown',props: {content: {type: String,required: true,},rawCss: {type: String,required: true,},},data() {return { wrapperId: uuid() }},computed: {markdownHtml() {return marked(this.content)},compiledCss() {if (this.rawCss && this.rawCss.length > 0) {const prefixedCss = this.prefixCss(this.rawCss)return prefixedCss}return ''},},methods: {prefixCss(css) {let id = `#${this.wrapperId}`let charlet nextCharlet isAtlet isInconst classLen = id.length// makes sure the id will not concatenate the selectorid += ' '// removes commentscss = css.replace(/\/\*(?:(?!\*\/)[\s\S])*\*\/|[\r\n\t]+/g, '')// makes sure nextChar will not target a spacecss = css.replace(/}(\s*)@/g, '}@')css = css.replace(/}(\s*)}/g, '}}')for (let i = 0; i < css.length - 2; i++) {char = css[i]nextChar = css[i + 1]if (char === '@' && nextChar !== 'f') isAt = trueif (!isAt && char === '{') isIn = trueif (isIn && char === '}') isIn = falseif (!isIn &&nextChar !== '@' &&nextChar !== '}' &&(char === '}' ||char === ',' ||((char === '{' || char === ';') && isAt))) {css = css.slice(0, i + 1) + id + css.slice(i + 1)i += classLenisAt = false}}// prefix the first select if it is not `@media` and if it is not yet prefixedif (css.indexOf(id) !== 0 && css.indexOf('@') !== 0) css = id + cssreturn css},},render(createElement) {const styleElement = createElement('style', {domProps: {innerHTML: this.compiledCss,},})const markdownElement = createElement('div', {attrs: { id: this.wrapperId },domProps: {innerHTML: this.markdownHtml,},})return createElement('div', {}, [markdownElement, styleElement])},})
Alright, big breath here 🧘♀️🧘♂️ The updates were all pretty simple. Let's break it down.
⭐️ Created a new prop: rawCss
We needed to pull in the CSS from the <textarea> coming from our parent component. So we set up a new prop called rawCss of string type.
⭐️ Created a new data() prop: wrapperId
We added a new data() prop called wrapperId that uses the uuid library to generate a universally unique id.
⭐️ Created a new method: prefixCss()
This is really where most of the "scoped css" magic happens. The prefixCSS() method accepts css string and prefixes each rule within it with the wrapper <div>'s unique wrapperId, giving us our "scoped css" specificity.
⭐️ Created a new computed prop: compiledCss
In order to react to changes in user input with the new rawCss prop, we added a computed property called compiledCss. Within this property, we will utilize the prefixCss() method and our unique wrapperId.
⭐️ Updated the render() function
With the above changes ready to go, we just needed to create a <style> element alongside our original markdown html with the prefixed css and our unique wrapperId assigned to the root wrapper <div> element.
Not so bad right? Okay one more quick step and we should be ready to go! 😎
Step 5: Update pages/index.vue to pass CSS to Markdown component
Go back to your pages/index.vue component and make sure you pass your css prop (in data()) to your updated Markdown component.
<!-- pages/index.vue --><template><div class="container"><form class="texteditor"><section><h2>Content Editor</h2><textareaid="markdown-text"v-model="content"name="markdown-content"cols="30"rows="10"></textarea></section><section><h2>Style Editor</h2><textareaid="markdown-text"v-model="css"name="markdown-content"cols="30"rows="10"></textarea></section></form><div class="markdown-section"><h2>Resulting Markdown</h2><Markdown :content="content" :raw-css="css" /></div></div></template><script>import Markdown from '~/components/Markdown.js'export default {components: {Markdown,},data() {return {content: '',css: '',}},}</script><style>.container {margin: 0 auto;min-height: 100vh;display: grid;grid-template-columns: 1fr 1fr;column-gap: 10px;}.container:only-child {padding: 0 10px;}.texteditor {display: grid;grid-template-columns: 1fr 1fr;column-gap: 5px;}.texteditor textarea {height: 100%;width: 100%;border: 2px solid rgba(230, 230, 230, 1);padding: 5px;outline: none;}</style>
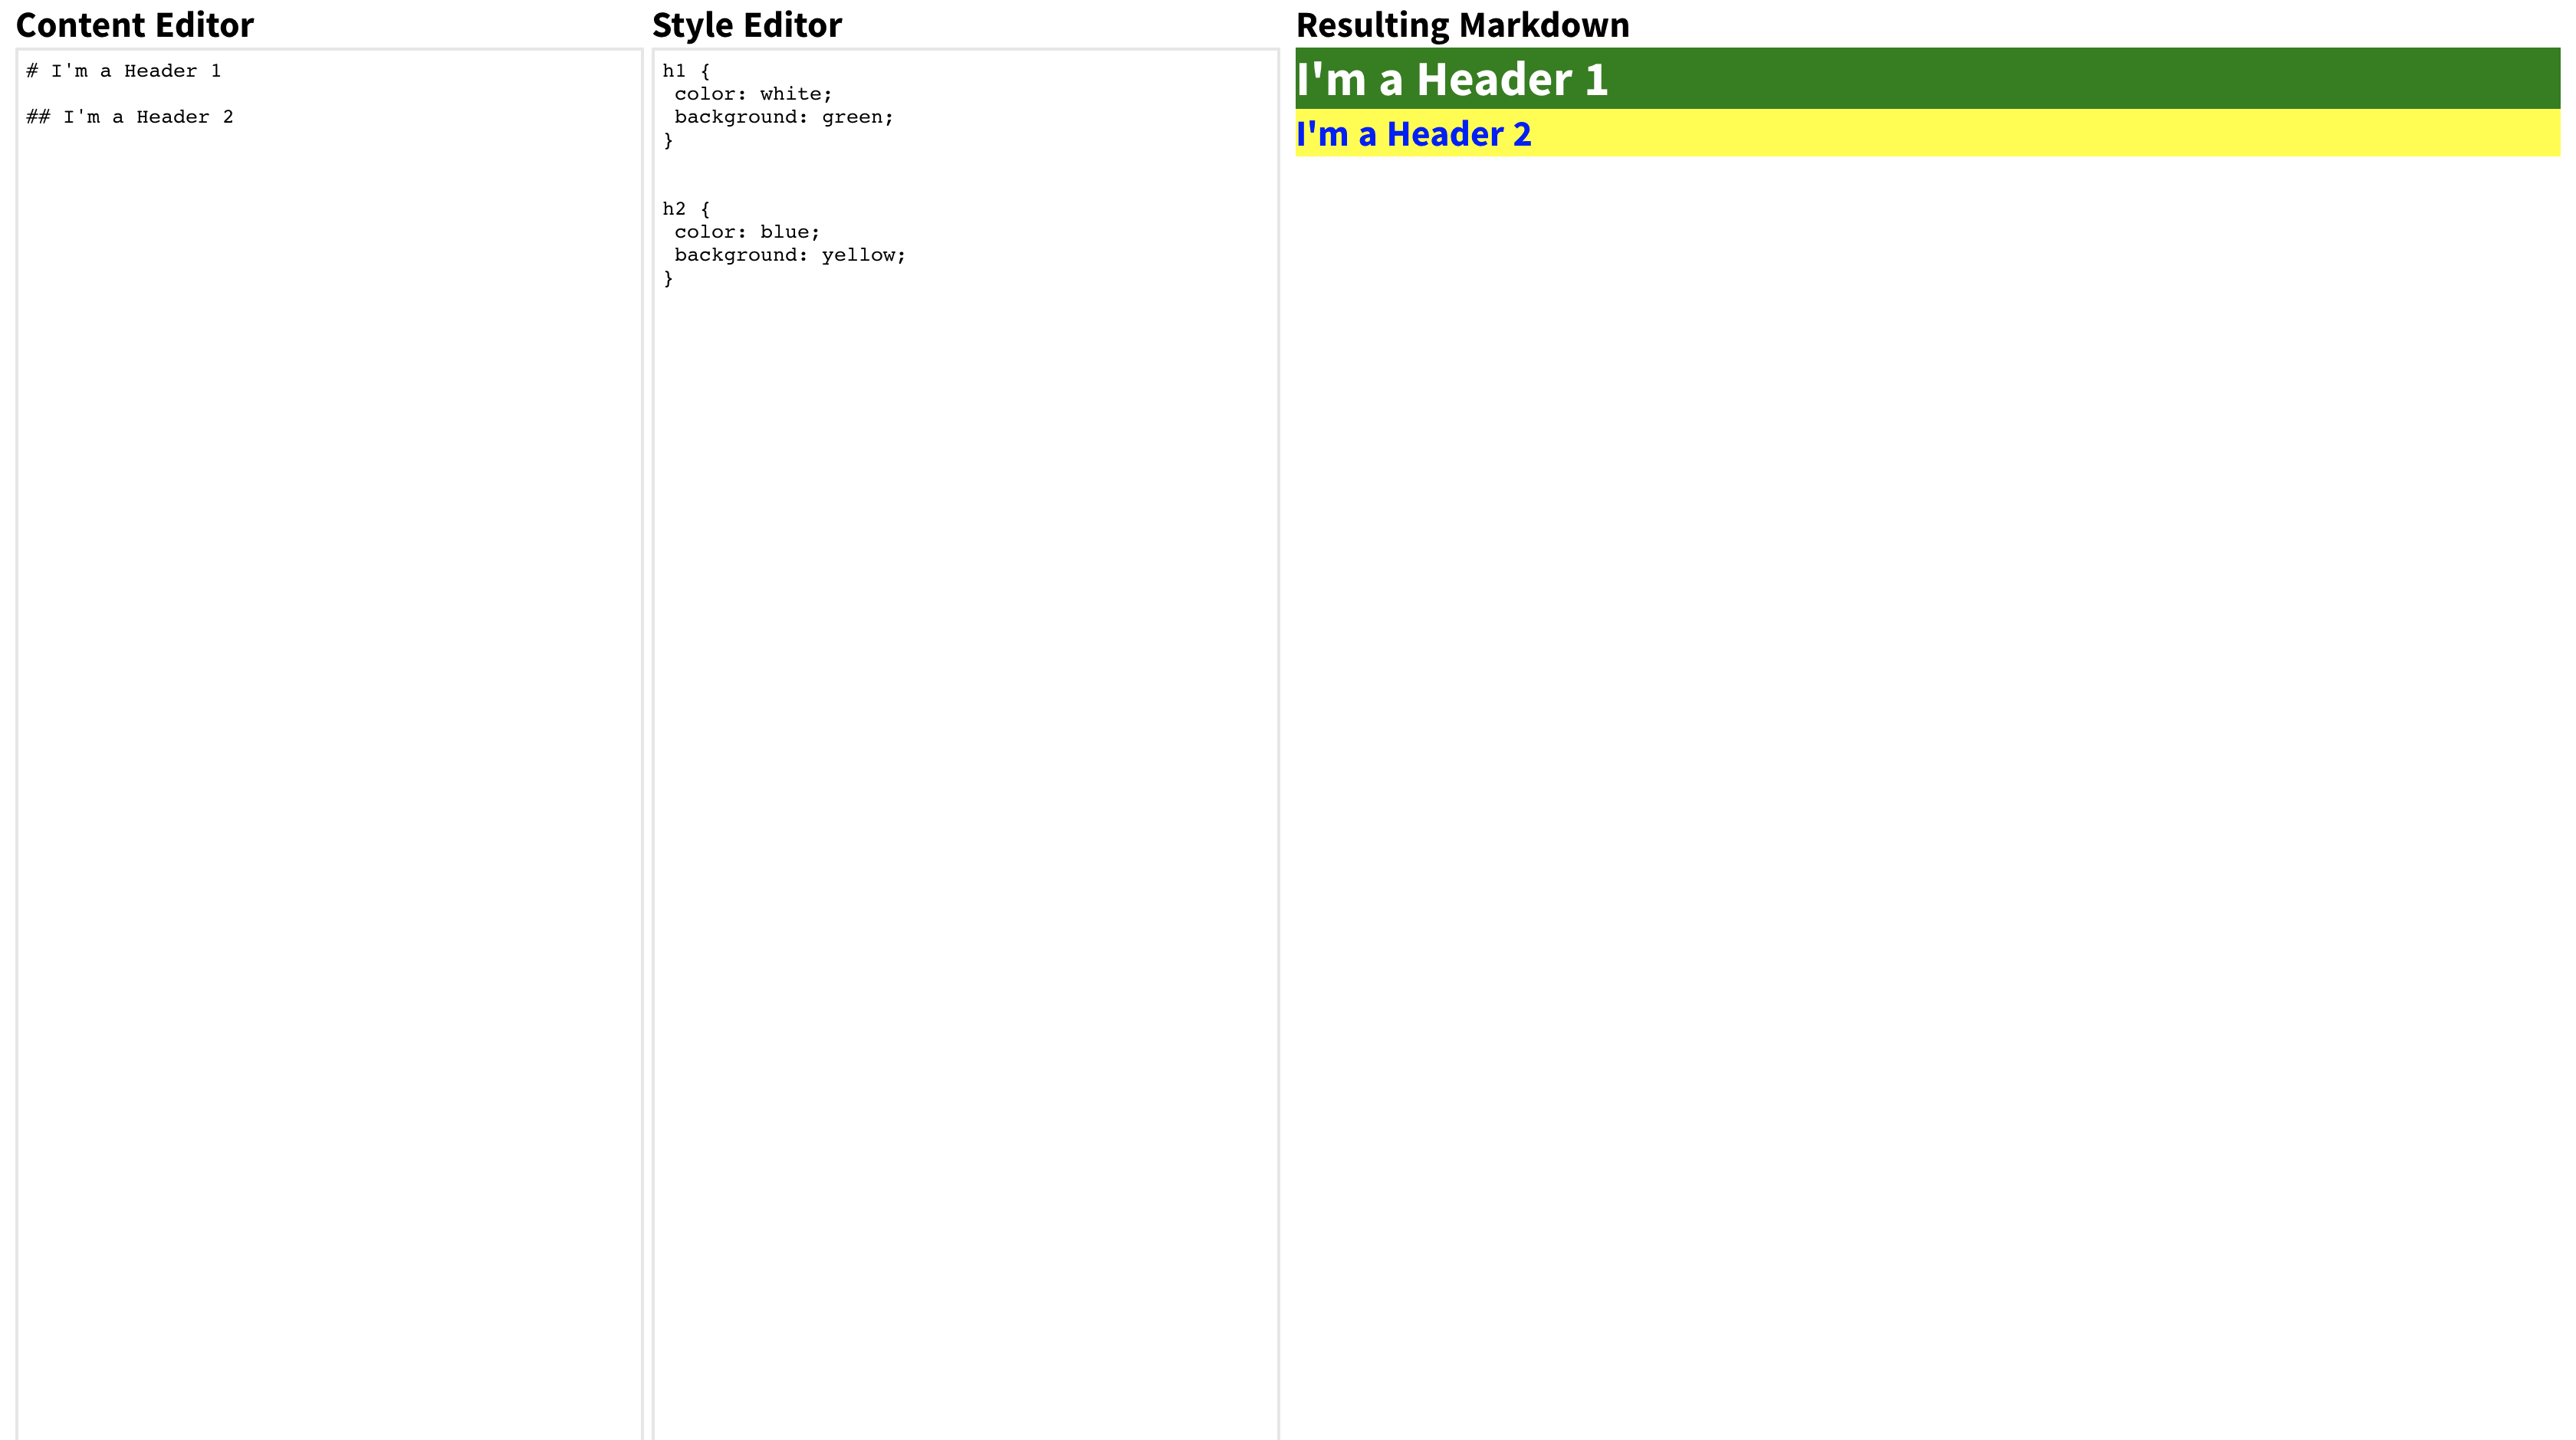
Now go and head back to your browser! Try typing in some markdown in the left-most "Content Editor" column as well as some valid CSS in the middle "Style Editor" targeting your markdown, and you should see the "Resulting Markdown" column update with your content and styles applied.
Note: The styles won't impact any elements outside of our "Resulting Markdown", hence our dynamic CSS is "scoped!" 🥳

Nice work! I hope you learned something here!
Thanks for Reading!
Thanks for reading and don't hesitate to reach out to me via email or through the above github repo! 🙏

The Final Code
Check out the full code here! If you have any suggestions or issues, feel free to open up an issue on the repo!
